Master basic Git commands
In a previous post we saw the differences between Git & GitHub: Git is a version control system that keeps track of all changes we make in a project, while GitHub is a cloud service that allows us to host our project.
A Git project has 3 parts: working directory, staging area and repository. Let's see what they are for.
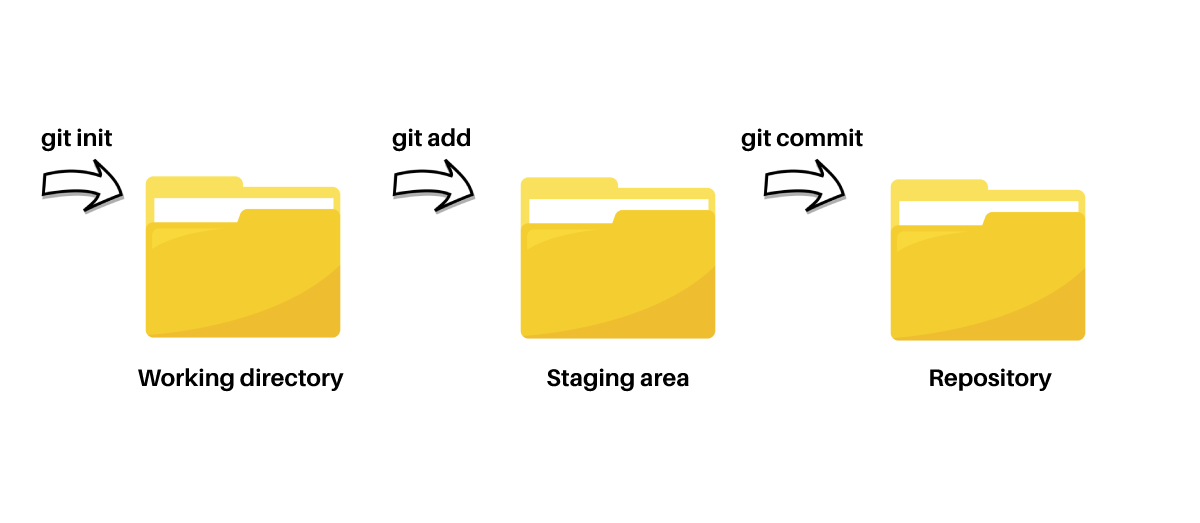
The working directory is where we are currently working (adding, modifying or removing things from our code) These are basically files which are still untracked.
The staging area is where we send the files to. It is like taking a photo of the files that are ready. We use the git add command to do so.
The repository is our local repository (computer), where we save our project with the git commit command.
If we want to save our project in GitHub (remote repository), we will need to use the git push command.
Practice puts brains in your muscles, ✨Sam Snead✨
Let's see all these together with a step-by-step practical example:
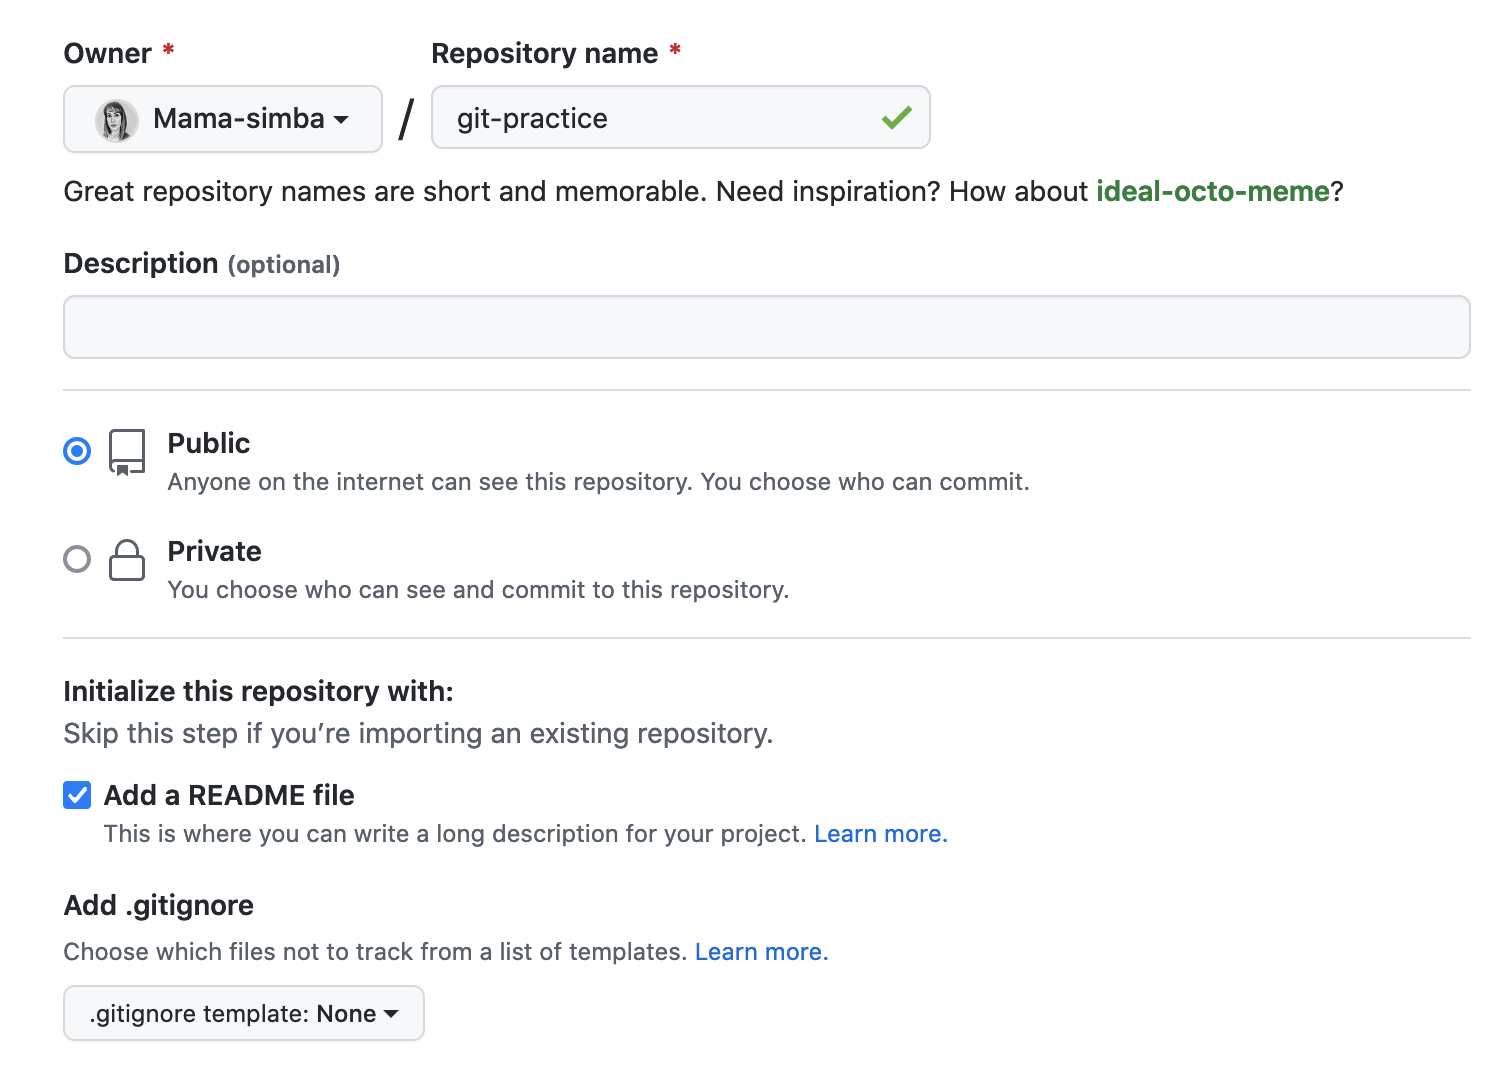
Create a GitHub repository and clone it
We will start by creating a repository (git-practice) in GitHub. Note that we have the option to add a Readme File (a file where we can explain our project more in detail) and .gitignore (a file to hide other files and keep our repository clean) Let's add a Readme file.
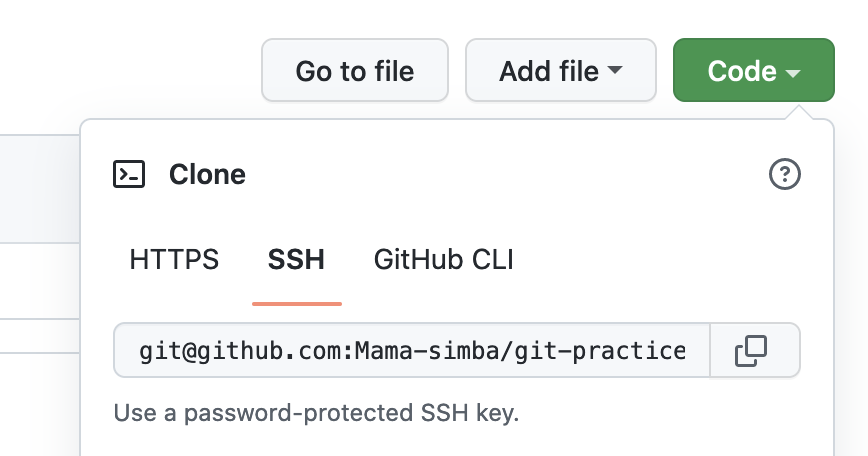
We clone this repository in our computer. In order to do so we access GiHub > Code > SSH. We copy the key:
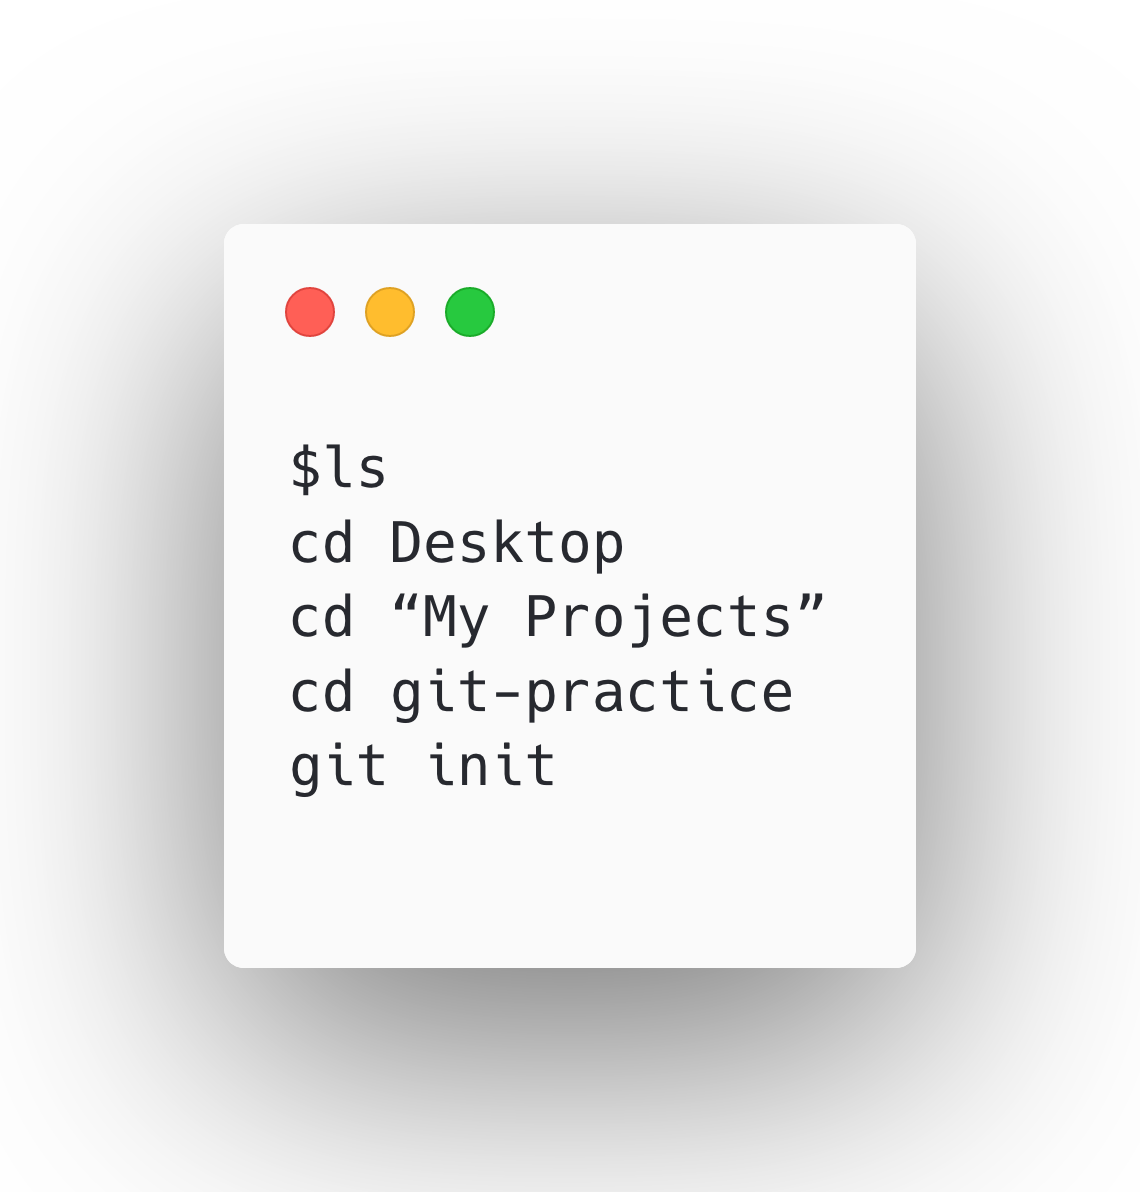
Now we start practicing some command line. We open our Terminal and search for the folder or location where we want to clone our project. In my case, I want to clone it in an existing folder called “My projects”, so I will use the following commands:
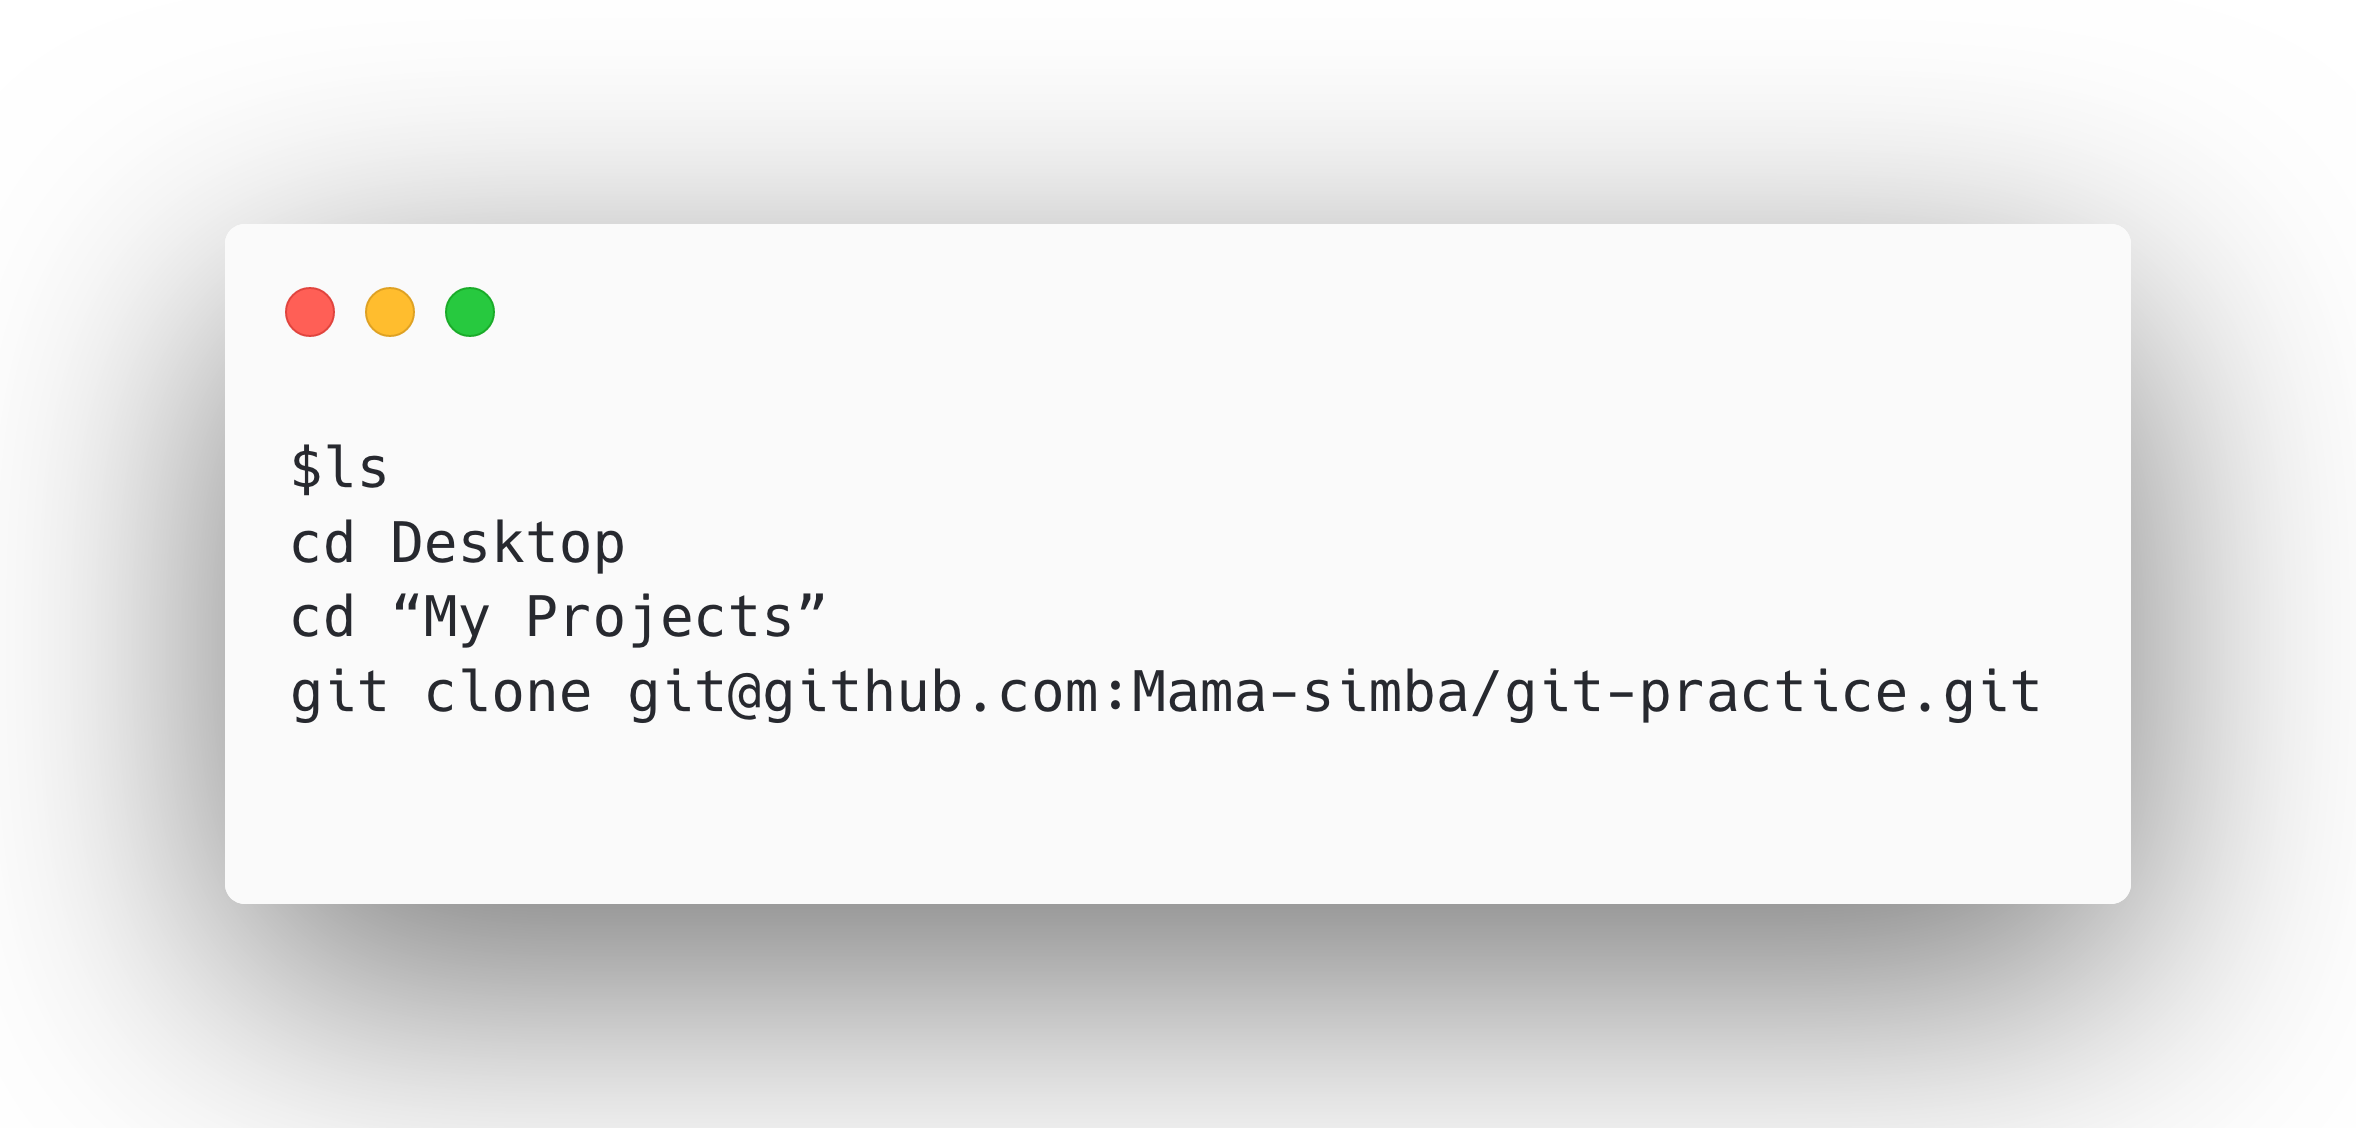
This will make a copy of our GitHub repository in our computer.
Create some basic files
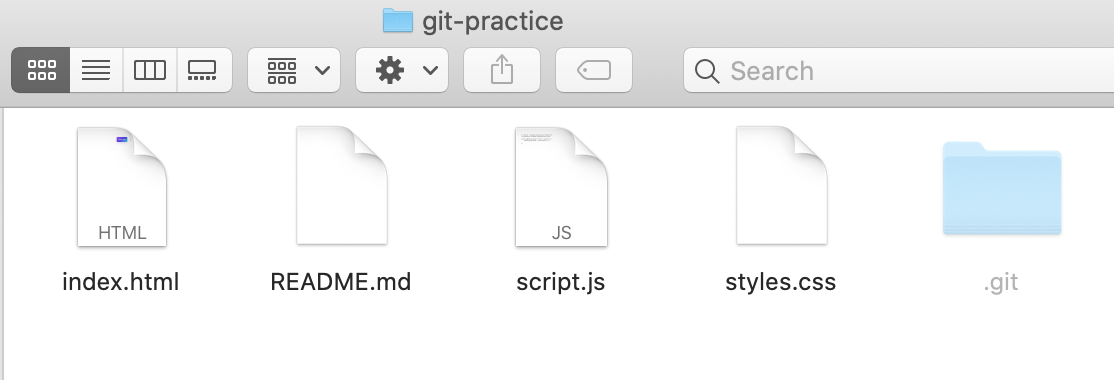
You can create some html, css and/or js files. They can be empty or you can code some basic stuff. My example:

Initialize Git
We access our project folder and initialize git with the git init command to start tracking our project:
This will create an invisible git folder in our project's folder. If you want to see it, use Command + Shift + .
Add your files to the staging area
Now we can add our files to the staging area with the git add . command. This command will add all files at once.
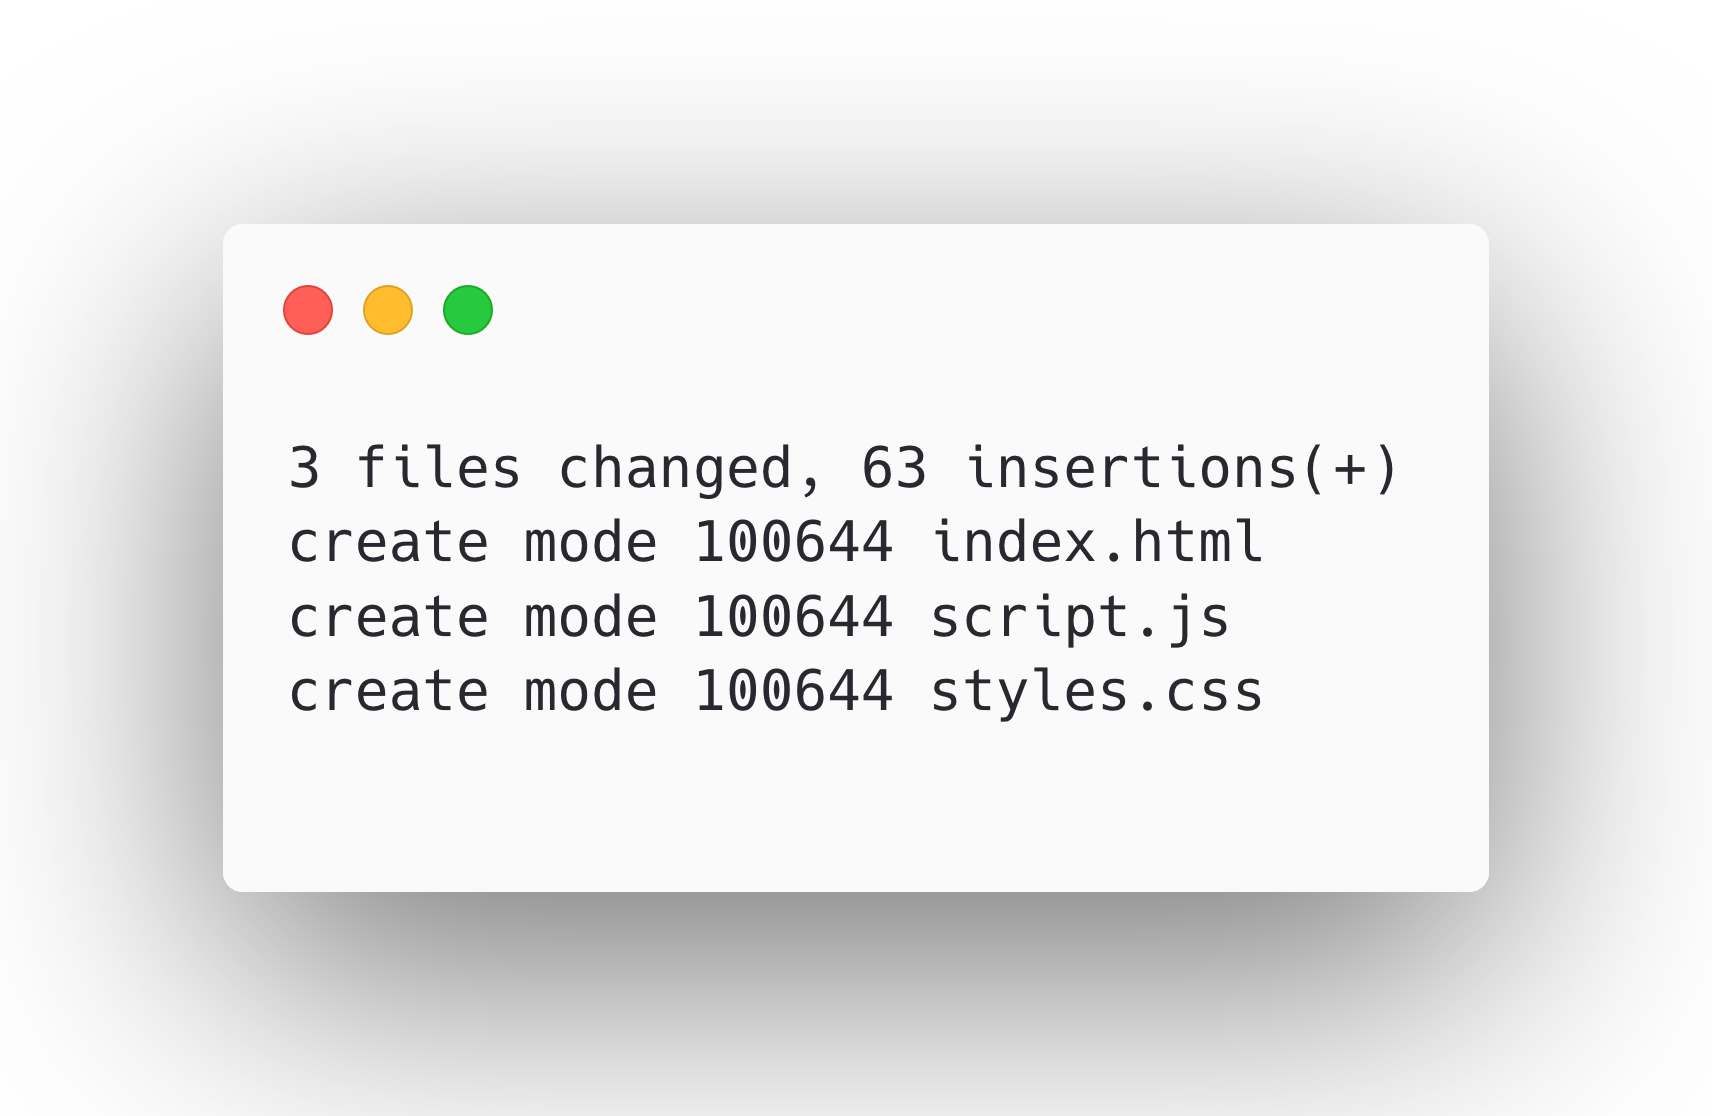
Save changes in your local repository
Next step is saving our files in our local repository (our computer) with the git commit -m “description of your change” command. The terminal will display this:
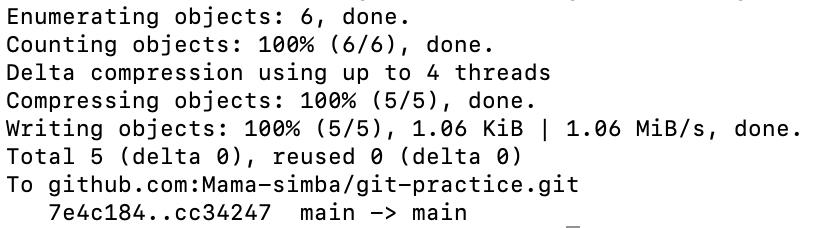
Send your files to GitHub
Our files are now saved. However they don't show up in GitHub yet. In order to send them to GitHub, we can use the git push origin main command.
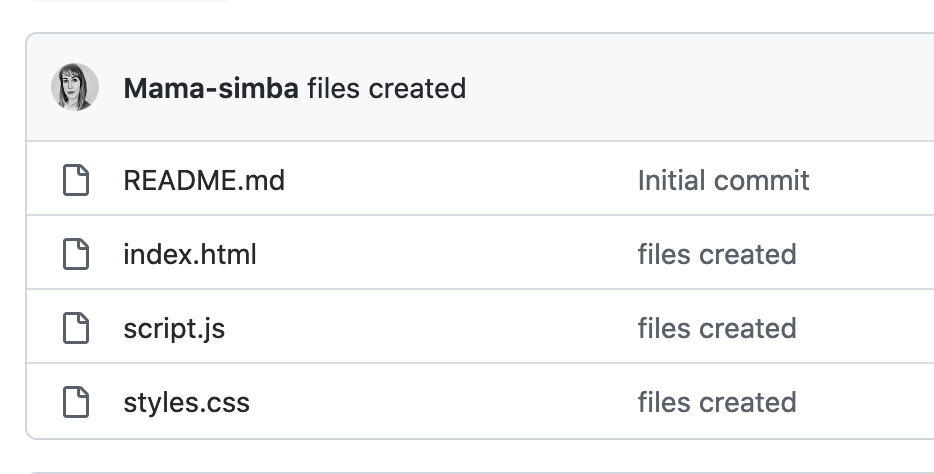
Now we will see them in GitHub:
The different Git areas might be confusing but you will understand them much better when you start practicing these steps. You can find my example here. Give it a try and you will master it!
